
Last updated November 21, 2026
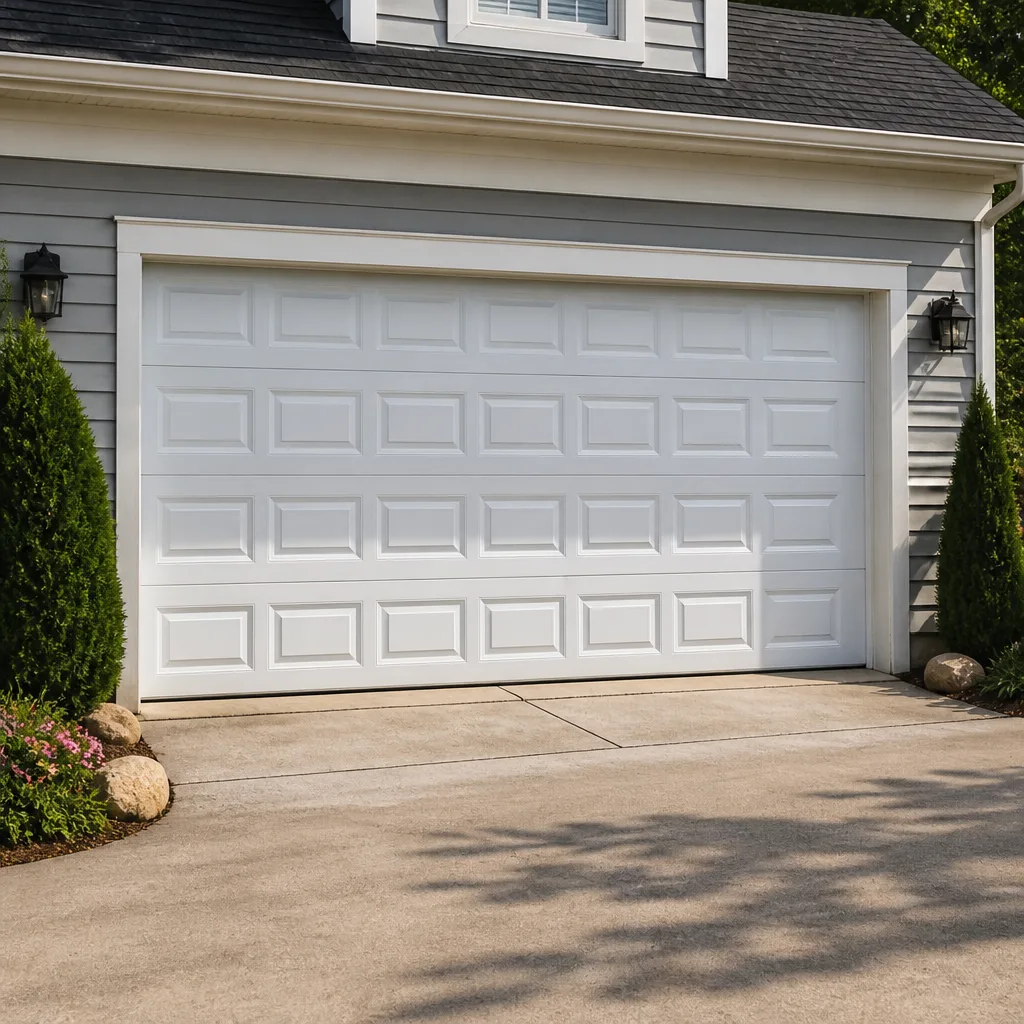 Raised-panel steel
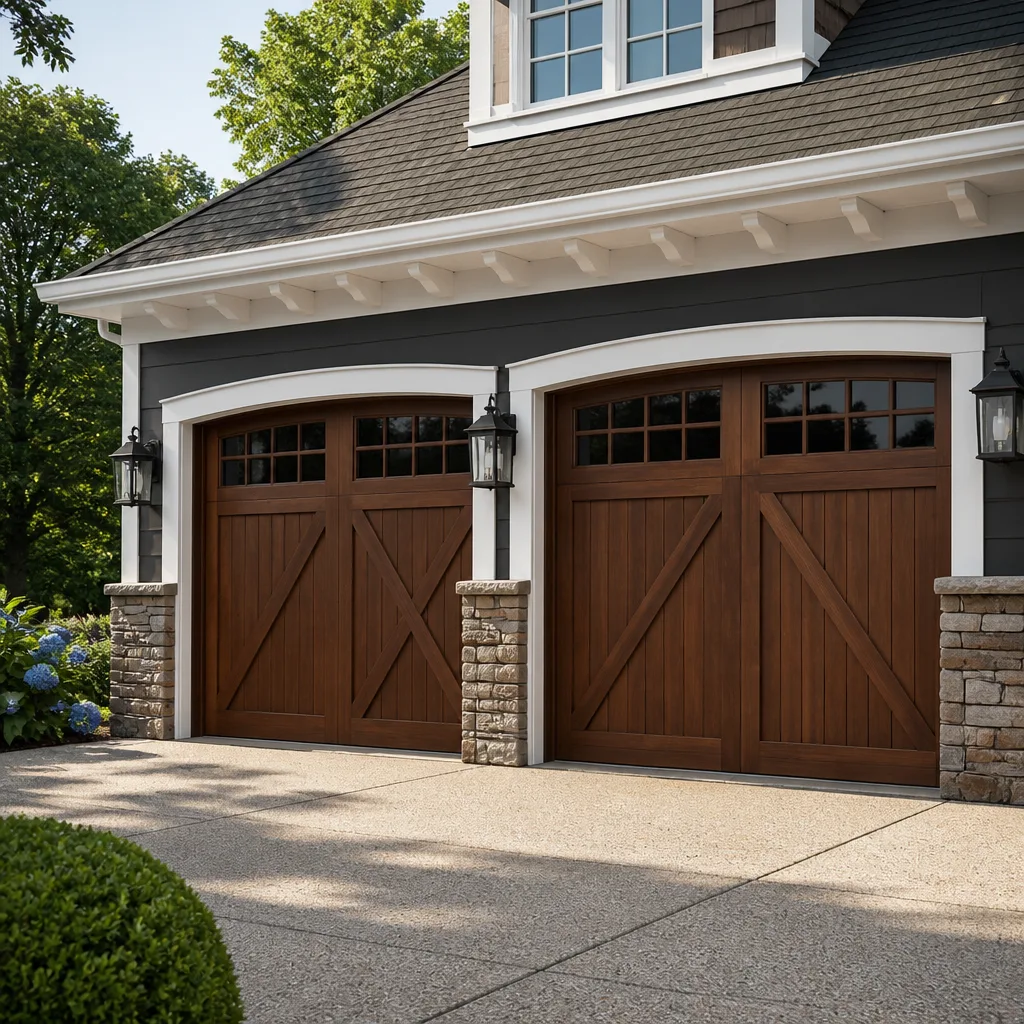 Carriage house
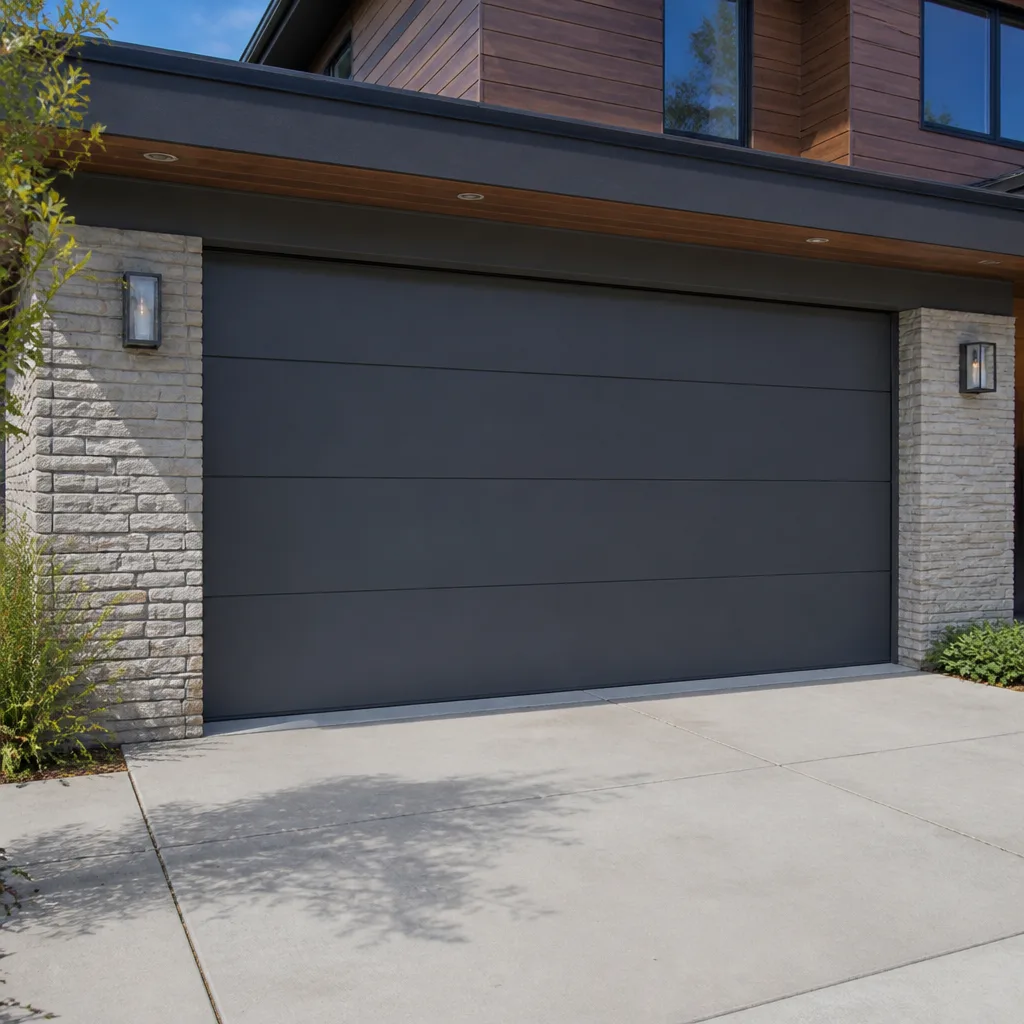 Modern flush
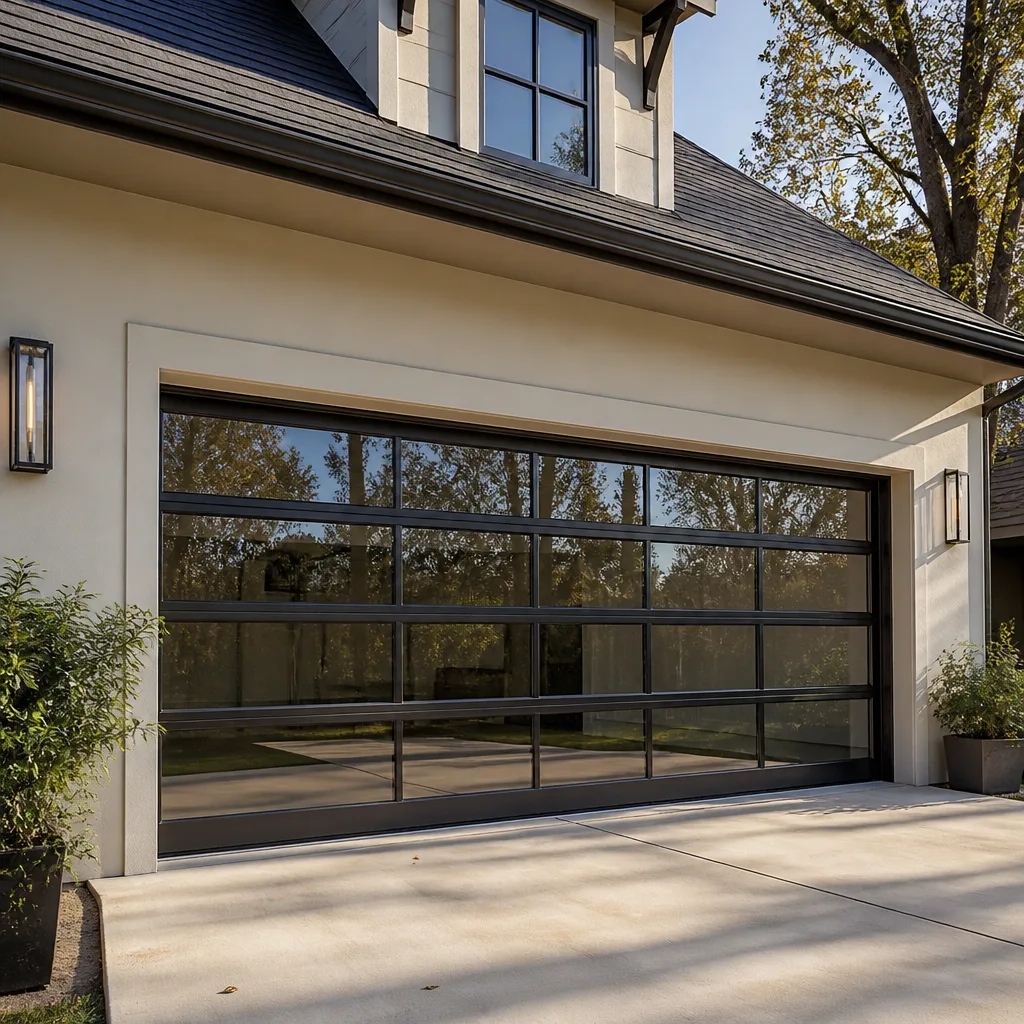 Full-view glass
 LiftMaster openers
 Chamberlain openers
Full 25-point door and opener safety check with every visit - springs, cables, rollers, tracks, and your LiftMaster or Chamberlain opener included
You get a price before we start. It does not change when the pro arrives.
Get your free estimateGarage Door Repair Maintenance Checklist for Kensington Homeowners
Most maintenance checklists get copied from manufacturer PDFs and stop at “oil the springs, test the safety reverse.” That approach misses what actually breaks here. In Kensington, the failures we get called for most often follow a seasonal pattern, and the bottom seal sits near the top of that list. Wet weather, then a hard freeze, then a door that’s bonded to its own threshold. Springs and openers get blamed. The seal is the culprit. This guide walks through the checks a trained garage door technician actually runs, ordered by how likely each one is to turn into an emergency rather than alphabetically, with a realistic time budget so you can finish the whole list in under 20 minutes. You’ll learn which components fail first in Kensington’s humidity-and-freeze cycle, which lubrication points most homeowners skip, and how to read the early warning signs before a cable snaps or a spring lets go.
Quick Answer
A garage door maintenance checklist in Kensington should prioritize the bottom seal, the balance test, and cable inspection first, because those three items fail fastest in the region’s wet winters and humid summers. The full inspection takes under 20 minutes and is best repeated twice a year, once before the first freeze and once in spring. Anything involving springs, cables under tension, or the torsion assembly is a professional job, not a homeowner one.
Styles & brands we work with
- Raised-panel steel
- Carriage house
- Modern flush
- Full-view glass
- LiftMaster openers
- Chamberlain openers
Table of Contents
- Why Kensington Doors Fail Differently
- The Bottom Seal: The Check That Prevents Winter Lockups
- How to Run a Balance Test (and Read the Result)
- Cable Inspection Without Tools
- Lubrication: The Points You Skip and the Two You Shouldn’t Overdo
- Opener and Safety Reverse Checks
- Rollers, Hinges, Tracks and Weatherstripping
- A Twice-Yearly Schedule and the 20-Minute Time Budget
Why Kensington Doors Fail Differently
Garage doors are simple machines, but the environment around them isn’t. Kensington sits in a climate that swings from humid summer air to winter freeze, and that swing does more damage to a door than steady cold or steady heat ever would. Wood and steel both expand and contract with the seasons. Seals stiffen. Lubricant thins in July and thickens in January. The cumulative effect is that hardware loosens on a schedule the door won’t announce.
What we see repeatedly on service calls breaks into a rough order of likelihood:
- Bottom seal failure – causes freeze-bonding to the threshold, drafts, and water intrusion. Highest emergency risk in winter.
- Spring fatigue – slow, quiet loss of lifting power, usually noticed only when the door feels heavy or the opener strains.
- Cable fraying – visible before a full break if you know what to look for, and dangerous once it isn’t.
- Roller and hinge wear – noisy operation, uneven travel, and premature track wear.
- Opener gear and sensor faults – usually a symptom of a door that’s harder to move than it should be.
The pattern matters because it tells you where to spend your attention. A homeowner who checks the seal and runs a balance test twice a year heads off most of the emergencies we’d otherwise be called out for. The rest of this guide follows that order. If at any point your door won’t move and you need dedicated garage door technicians rather than a checklist, Garage Door Repair Kensington is the number to call, and we work on the brand you have.
The Bottom Seal: The Check That Prevents Winter Lockups
The bottom seal is the rubber or vinyl strip running the full width of your door’s lowest panel. It looks like trim. It functions as a gasket, a weather barrier, and, in Kensington’s freeze-thaw winters, the difference between a door that opens and one that’s frozen to its threshold. When the seal is cracked or flattened, meltwater gets between the door and the concrete, refreezes overnight, and bonds them. The opener then strains against a door that physically cannot lift. That’s the winter emergency call, and it almost always starts with a seal that should have been replaced a season earlier.
Here’s how to check it in about three minutes:
- Close the door fully and look along the seal from inside. You’re looking for cracks, missing chunks, or a strip that’s gone hard and shiny rather than soft and matte.
- Check the contact. The seal should compress slightly against the floor along its entire width. Daylight or a visible gap anywhere means it’s not doing its job.
- Run your hand along the bottom edge. A seal that crumbles or flakes is past its service life.
- Look for water staining on the floor just inside the door. That’s evidence moisture is getting past the seal.
Replacement is a low-cost, straightforward job compared with what a frozen door can lead to: stripped opener gears, a bent bottom section, or a snapped cable from the strain. If your seal is beyond saving, a technician can swap it in a single visit. This is also the check most worth doing right before the first hard freeze of the season. Call (833) 439-5277 for a free estimate on seal replacement in Kensington.
How to Run a Balance Test (and Read the Result)
A balance test tells you how much lifting work your springs are still doing and how much your opener is quietly compensating for. It takes about two minutes, requires no tools, and is the single best early indicator of spring wear. Springs don’t usually snap without warning. They weaken gradually, and the balance test is how you catch the weakening before it becomes a failure.
- Close the door and pull the manual release cord to disconnect the opener. The door should now move by hand only.
- Lift the door to about waist height and let go.
- Watch what it does. A properly balanced door holds its position, or drifts only slightly.
- Repeat at knee height and again at shoulder height.
What the results mean:
- Holds position at all three heights – springs are doing their job. No action needed.
- Sags or drops quickly – the springs have lost tension. Lifting force is now coming from your opener, which wears it out fast.
- Rises on its own – springs are over-tensioned. This needs professional adjustment, not a homeowner fix.
- Moves roughly or binds at one point – usually a roller, hinge or track issue rather than springs.
Reconnect the opener only after the door is closed. If the door drops hard during the test, stop lifting it by hand: a door with failed springs is heavy enough to cause injury. That’s a call for a specialist. Our technicians have up to 10 years of experience diagnosing exactly this kind of wear on LiftMaster, Chamberlain, Genie, Clopay and other major systems.
Cable Inspection Without Tools
The lift cables run from the bottom corners of the door up to the drums at the top. You can inspect them visually in about 90 seconds, no tools needed, and catching fraying early is what keeps a cable failure from becoming an emergency. A snapped cable under tension is genuinely dangerous, and it tends to happen while someone is standing near the door.
Stand inside the garage, door closed, and look at each cable along its length. What you’re checking for:
- Fraying or broken strands – look for a fuzzy, “hairy” section, especially near the drums and bottom brackets.
- Kinks or sharp bends – a kinked cable has already been weakened.
- Rust – common in humid Kensington summers; rust weakens the wire from the outside in.
- Uneven tension – one cable noticeably looser than the other means the door is being pulled unevenly.
- Slack at the bottom bracket – a sign the cable has slipped or the drum has an issue.
What you should not do is touch the cables, adjust them, or try to re-seat one on a drum. Cables are under significant tension, and releasing that tension incorrectly can cause serious injury. Visual inspection only. If you see fraying or a kink, stop using the door and have a technician look at it. Catching a cable at the first frayed strand is cheap and safe. Catching it after a break is neither.
Lubrication: The Points You Skip and the Two You Shouldn’t Overdo
Lubrication is the part of the checklist most homeowners handle inconsistently, and it’s usually because they’re doing it at the wrong points or in the wrong amounts. A door that’s overdue for lubrication runs louder, wears faster, and puts more load on the opener. A door that’s over-lubricated attracts grit and can fail in different ways. The goal is a light, even film on the moving metal parts, not a coat of grease everywhere.
The spots people skip:
- The hinges, at every pivot point, not just the noisy one.
- The roller stems and bearings, not just the roller body.
- The spring coils themselves, lightly. A dry torsion spring binds and chatters; a light film quiets it.
- The track curves at the top and bottom, where the rollers change direction and wear fastest.
- The lock and latch mechanism, if your door has one.
The two spots to go easy on:
- The tracks themselves. Tracks are guide rails, not bearings. Greasing them collects dust and grit that then grinds against the rollers. Wipe them clean with a dry cloth instead.
- The opener rail and chain or belt. Over-lubricating a belt or chain attracts debris and, in the case of some belt-drive openers, can cause slipping. A manufacturer-specific lubricant applied sparingly, or none at all depending on the model, is the right call. This is one place where a brand-aware technician saves you a mistake: a Genie chain drive and a Chamberlain belt drive want different treatment.
Use a silicone-based or white lithium lubricant rather than household oil, and wipe off any excess. If your door is still loud after a proper lubrication, the noise is coming from wear, not dryness, and it’s worth having it looked at. For opener-specific issues, our garage door opener repair service covers every major brand.
Opener and Safety Reverse Checks
Your opener has two safety systems, and both need testing periodically. The first is the safety reverse, which makes the door go back up if it meets an obstruction on the way down. The second is the photo-eye system, the sensors near the floor on each side of the door. Both are easy to test and both are worth testing every couple of months, especially in households with children or pets.
Testing the safety reverse:
- Place a firm object, like a roll of paper towels, on the floor in the door’s path.
- Close the door using the opener.
- The door should contact the object and reverse direction. If it doesn’t, stop using the opener until it’s fixed.
Testing the photo-eyes:
- With the door open, wave an object across the beam between the two sensors.
- The door should refuse to close, or reverse if already closing.
- Check that the sensor lenses are clean and the indicator lights on both units are steady, not flickering.
Beyond safety, listen to the opener. Grinding or straining usually means the door is harder to lift than it should be, which points back to springs or rollers. A remote that works only up close is usually a battery or antenna issue, not a failing unit. And if your opener is a LiftMaster or Chamberlain with a battery backup, check that the battery holds a charge; in a power cut, that’s the only thing standing between you and a door you can’t open. If the opener itself is the problem, we service and repair them directly.
Rollers, Hinges, Tracks and Weatherstripping
The mechanical hardware is where small wear adds up quietly. None of these checks take more than a couple of minutes, and together they account for most of the “it used to be quiet” complaints we hear in Kensington.
- Rollers. Steel rollers wear flat spots; nylon rollers crack. Look for wobble, visible flat spots, or chips. A door with worn rollers runs rough and strains the opener.
- Hinges. Check for looseness, cracks, or rust at the pivot. A loose hinge lets the panel shift and puts stress on the track.
- Tracks. Look for dents, bends, or debris. A slightly bent track causes the door to bind in one spot. Don’t force a bent track back into shape; have it looked at.
- Panel condition. Look for dents, rust spots, or separation between sections. A panel that’s separating lets water in and weakens the door’s structure.
- Weatherstripping around the frame. The side and top seals keep wind and water out. Cracked or peeling strips let moisture in, which is the same moisture that ends up freezing your bottom seal to the floor.
If you find a bent track, a cracked hinge, or a panel that’s coming apart, those are repair items rather than maintenance ones. Our garage door repair service covers them, and if the damage is extensive enough that the door is past saving, we also handle garage door installation for a full replacement.
A Twice-Yearly Schedule and the 20-Minute Time Budget
The word “checklist” makes this sound like a weekend project. It isn’t. A focused inspection covering everything in this guide fits comfortably inside 20 minutes once you know the order. Here’s the time breakdown, ordered the way we’d actually run it:
- Bottom seal inspection: 3 minutes
- Balance test: 2 minutes
- Cable visual check: 90 seconds
- Lubrication of hinges, rollers, springs and track curves: 5 minutes
- Opener safety reverse and photo-eye tests: 4 minutes
- Roller, hinge, track and weatherstrip check: 4 minutes
That’s under 20 minutes if you work through it in order and don’t stop to fix things mid-inspection. Note what needs attention, then decide what’s a homeowner job and what’s a professional one.
Twice a year is the right cadence for Kensington. Run the full list in late fall, before the first freeze, so the bottom seal and weatherstripping are sorted before the freeze-thaw cycle starts. Run it again in spring, after the wet season, to catch anything the winter loosened or wore. Between the two, a quick visual check of the seal and a listen to the door as it opens will tell you if anything has changed.
Keep a simple log: date, what you checked, what you found. Over a couple of years, that log tells you when a component is trending toward failure rather than just looking worn. It also gives a technician useful history if you ever do need a repair, which shortens the diagnostic time and gets you a tighter estimate.
Common Mistakes to Avoid
- Assuming the spring is the problem when the door won’t lift in winter. Nine times out of ten in a Kensington freeze, it’s the bottom seal bonded to the threshold, not a failed spring. Check the seal first before calling for spring repair.
- Greasing the tracks. It feels like it should help, but it collects grit and grinds your rollers. Tracks want a dry wipe, not lubricant.
- Trying to adjust or replace springs yourself. Torsion springs and the cables attached to them are under extreme tension. Releasing that tension incorrectly can cause serious or fatal injury. This is the one item on the list that should never be a DIY job.
- Skipping the balance test because the door “seems fine.” A door with weakening springs still opens, because the opener is compensating. The test is the only way to see the wear before the opener starts failing too.
- Ignoring a noisy door. Noise is usually the first sign of worn rollers or a dry spring. Waiting until it’s a hard failure costs more than a quick inspection.
- Over-lubricating the opener chain or belt. It attracts debris and can cause slipping on belt-drive models. A little manufacturer-specific lubricant, or none, depending on the opener, is right.
- Running the door with a visibly frayed cable. A cable that’s already showing broken strands is close to failing. Stop using the door and get it looked at.
See the difference
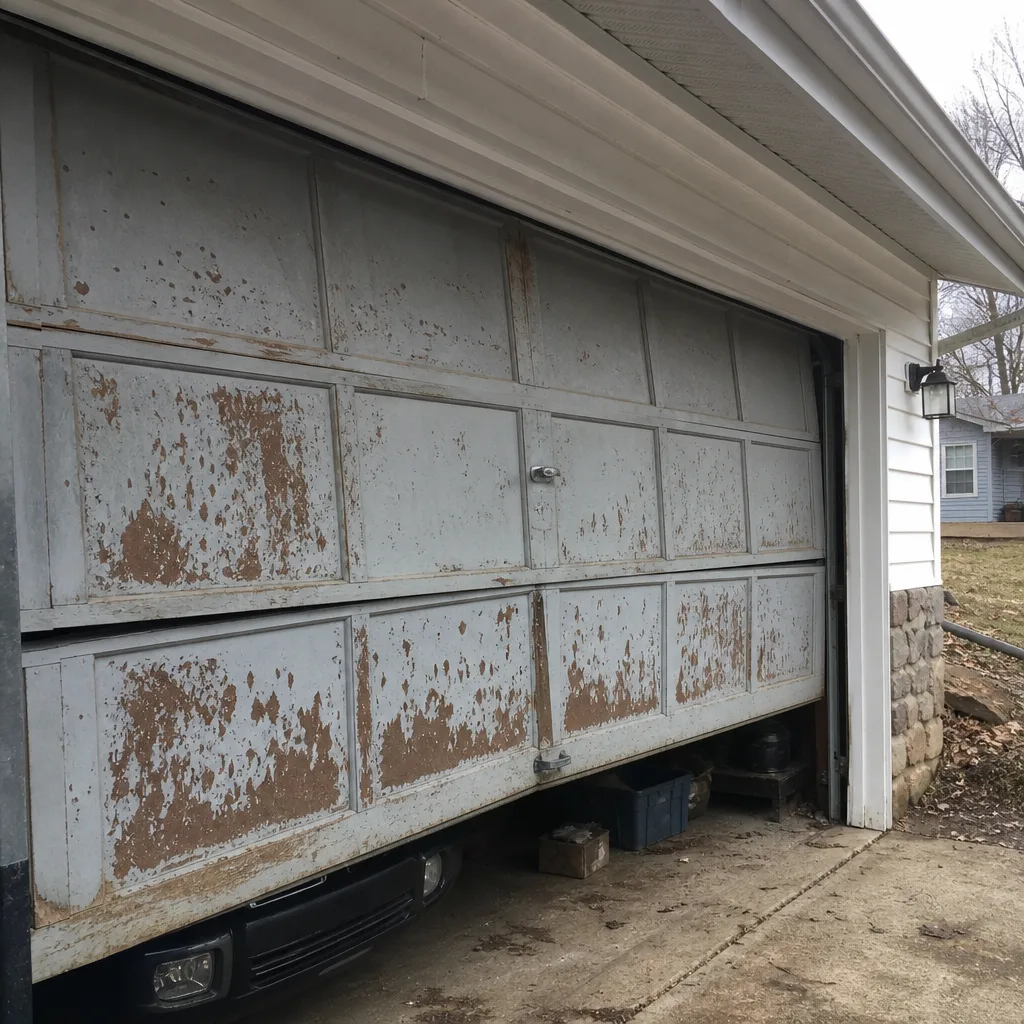 Before
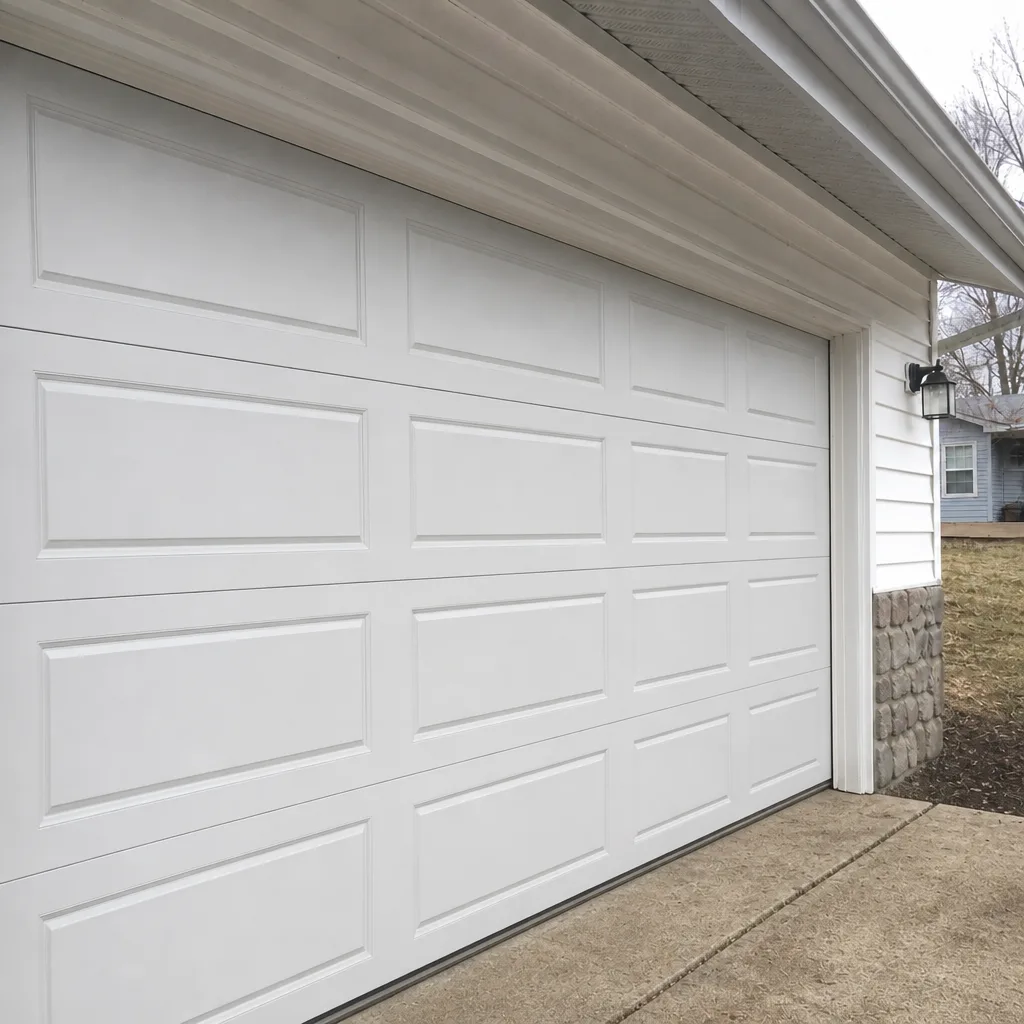 After
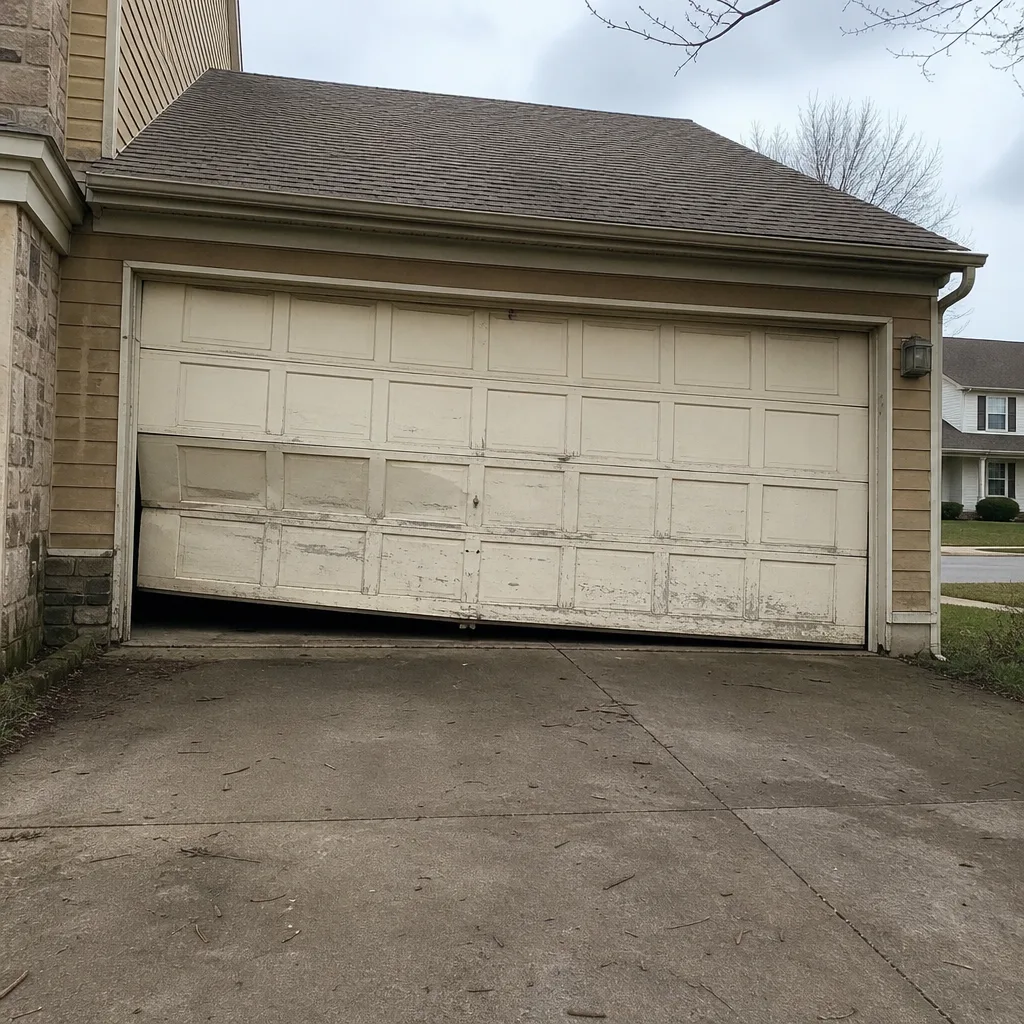 Before
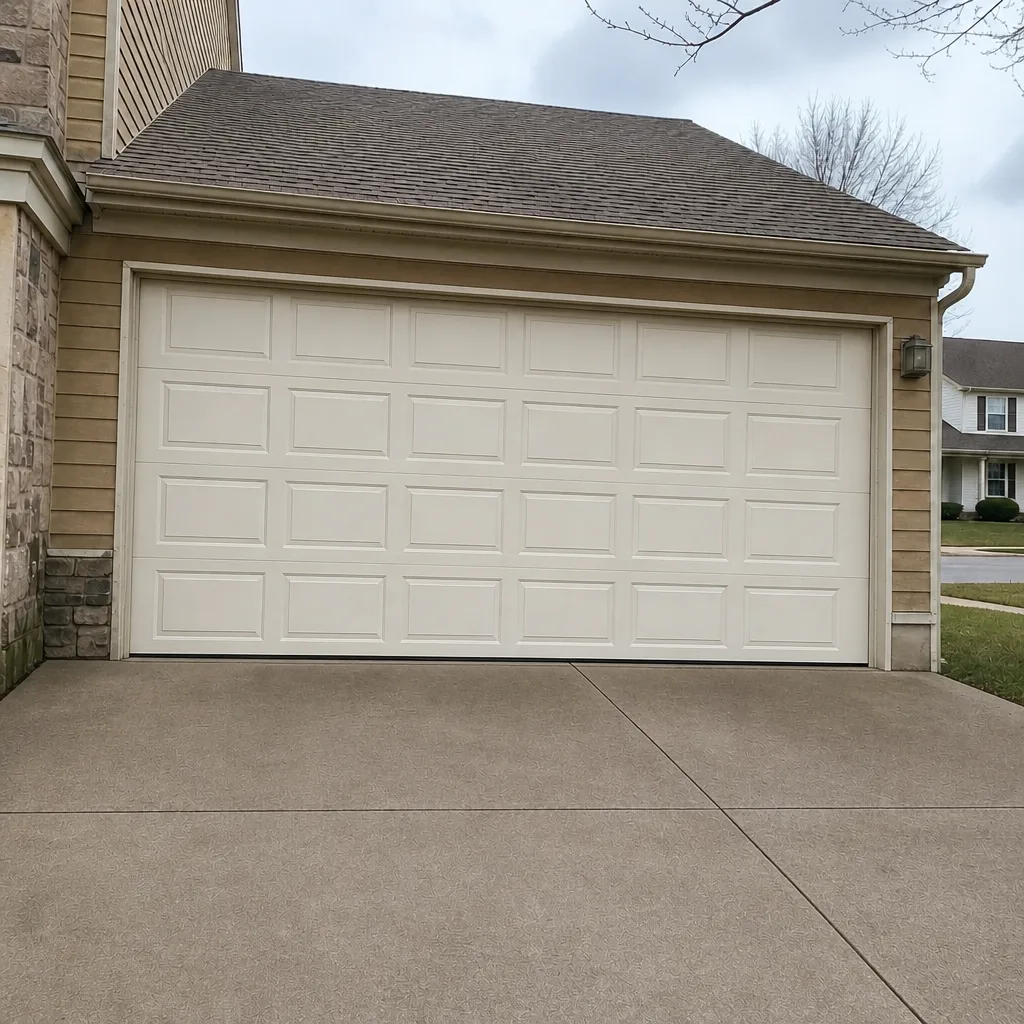 After
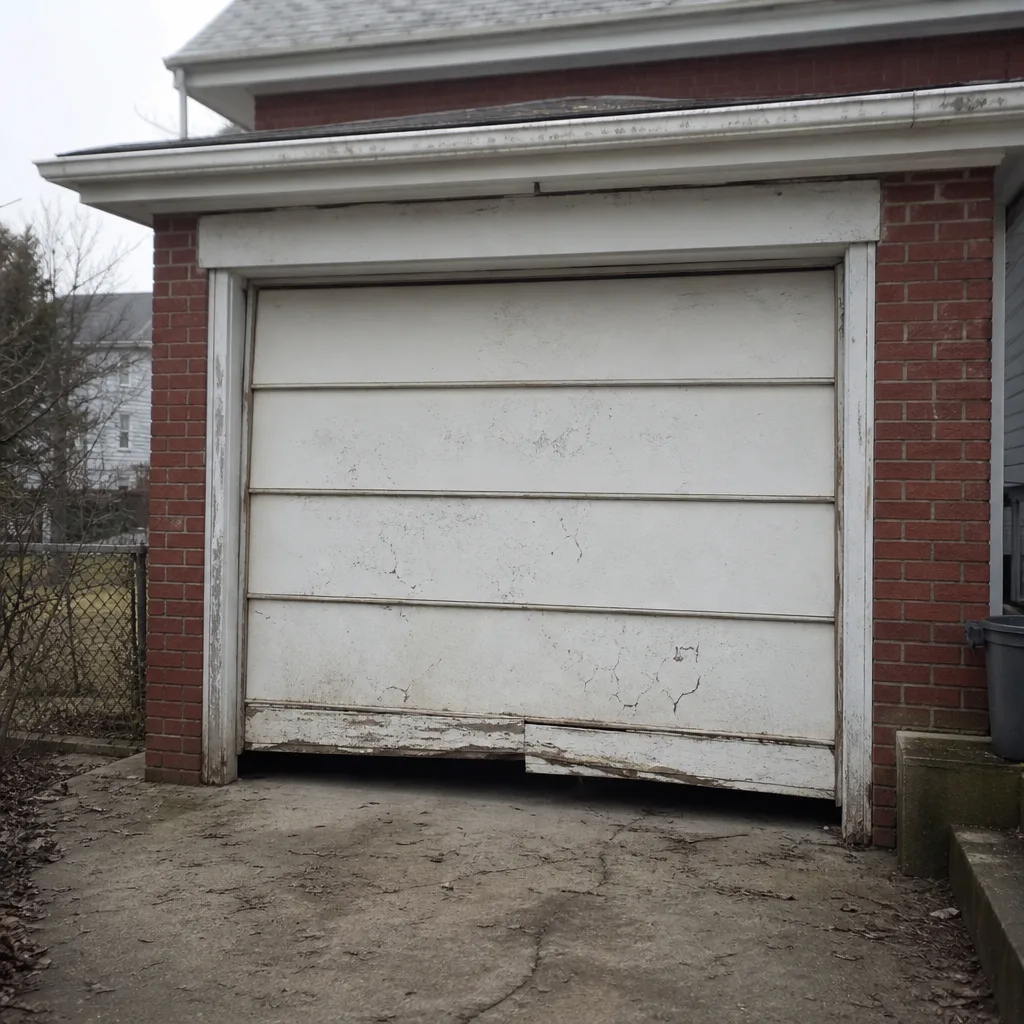 Before
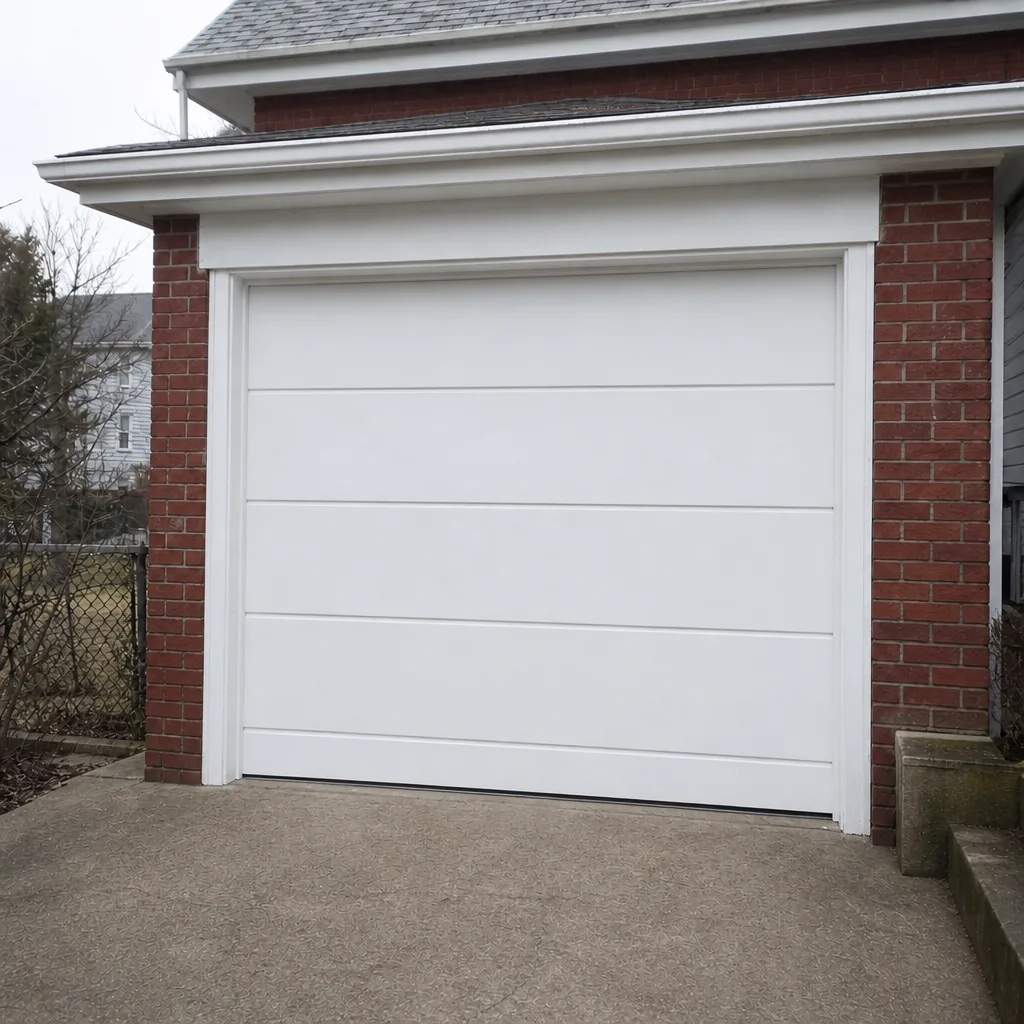 After
When to Call a Professional
Some of this checklist is homeowner work. Some of it isn’t, and knowing the line matters. Call a dedicated garage door technician if your balance test shows the door dropping or rising on its own, if you see frayed or kinked cables, if a track is bent or the door binds at one point, or if the safety reverse fails its test. Any of those is a repair, not a maintenance item. Call right away if the door won’t open in winter because it’s frozen to the floor, if a spring has visibly snapped, or if the door is hanging unevenly with one side higher than the other. Springs and cables are the two components we’d never advise a homeowner to touch, and they’re exactly the repairs we specialize in. Garage Door Repair Kensington offers free estimates in Kensington, so call (833) 439-5277 and we’ll tell you what’s wrong before any work starts.
Frequently Asked Questions
Twice a year: once in late fall before the first freeze and once in spring after the wet season. If your door gets heavy use, monthly checks of the bottom seal and a quick balance test are worth adding. The full inspection takes under 20 minutes. If you’d rather have a technician run it, call (833) 439-5277 for an exact quote on a maintenance inspection, and estimates are free.
Almost always a worn or cracked bottom seal. Meltwater gets between the door and the concrete, refreezes overnight, and bonds the two together. The door then can’t lift, and the opener strains against it. Replacing the seal before the freeze is the fix. If yours has already frozen, don’t force it. Call (833) 439-5277 for a free estimate on seal replacement.
Yes, lightly, with a silicone or white lithium lubricant, while the door is closed and the springs are under normal tension. What you must not do is adjust, unwind, or replace the springs. That requires specialized tools and training, and an incorrect release can cause serious injury. Leave spring repair to a specialist. Call (833) 439-5277 to book a spring inspection, and estimates are free.
It means your springs aren’t doing their share of the lifting. Either they’ve weakened, in which case the door sags or drops, or they’re over-tensioned, in which case it rises on its own. Weakened springs put the load on your opener, which wears it out quickly. Over-tensioned springs need professional adjustment. Either way, it’s a call for a technician. Call (833) 439-5277 for an exact quote, and estimates are free.
Look for fraying near the drums and bottom brackets, kinks, rust, or uneven tension between the two cables. Any of those means the cable is weakening and should be inspected. Don’t touch or adjust the cables yourself; they’re under significant tension. Stop using the door and call (833) 439-5277 for a free estimate on cable inspection and repair.
No. The price is quoted and agreed before any work starts, based on a written estimate. What we inspect is what we quote, and the quote is what you pay. Nothing gets added after the fact. Call (833) 439-5277 today for a free estimate and a clear price in writing.
The Bottom Line
Garage door maintenance in Kensington comes down to catching wear before it turns into an emergency. Check the bottom seal first, because it’s the leading cause of winter lockups. Run a balance test to see how much work your springs are still doing. Look at the cables for fraying before they break. Lubricate the right points, skip the tracks, and go easy on the opener chain. Test your safety reverse and photo-eyes, then check the hardware. Do the full list twice a year, before the freeze and after the wet season, and it’ll take under 20 minutes. Anything involving springs, cables, or a binding door is a professional job, and we handle those daily on every major brand. The goal is fewer emergency calls, not a longer list.
When your door needs a repair or you’d rather have the inspection done right, call (833) 439-5277 for a free estimate. We answer 24/7. Fast dispatch from 7am to 7pm, Sunday through Friday. We work on the brand you have, from opener glitches to full replacements.
Written by the team at Garage Door Repair Kensington.