
Last updated November 21, 2026
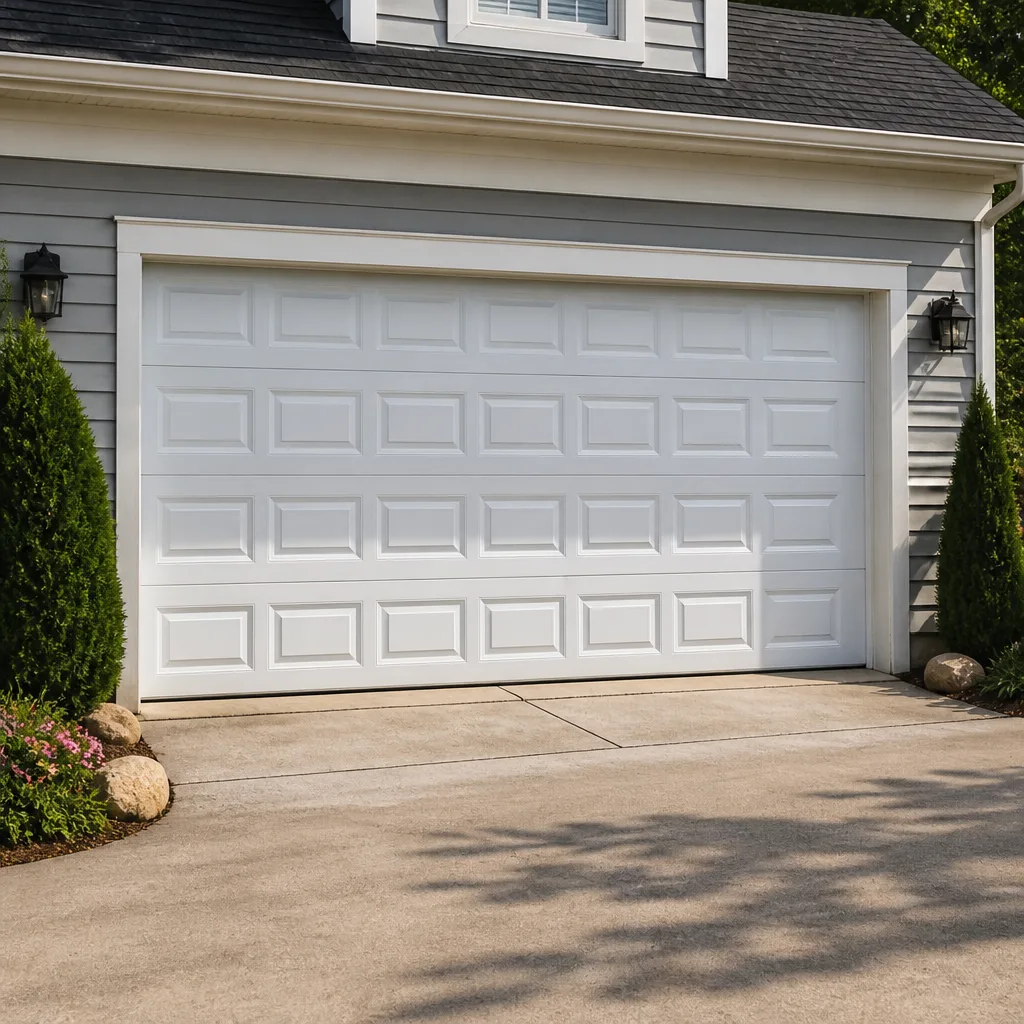 Raised-panel steel
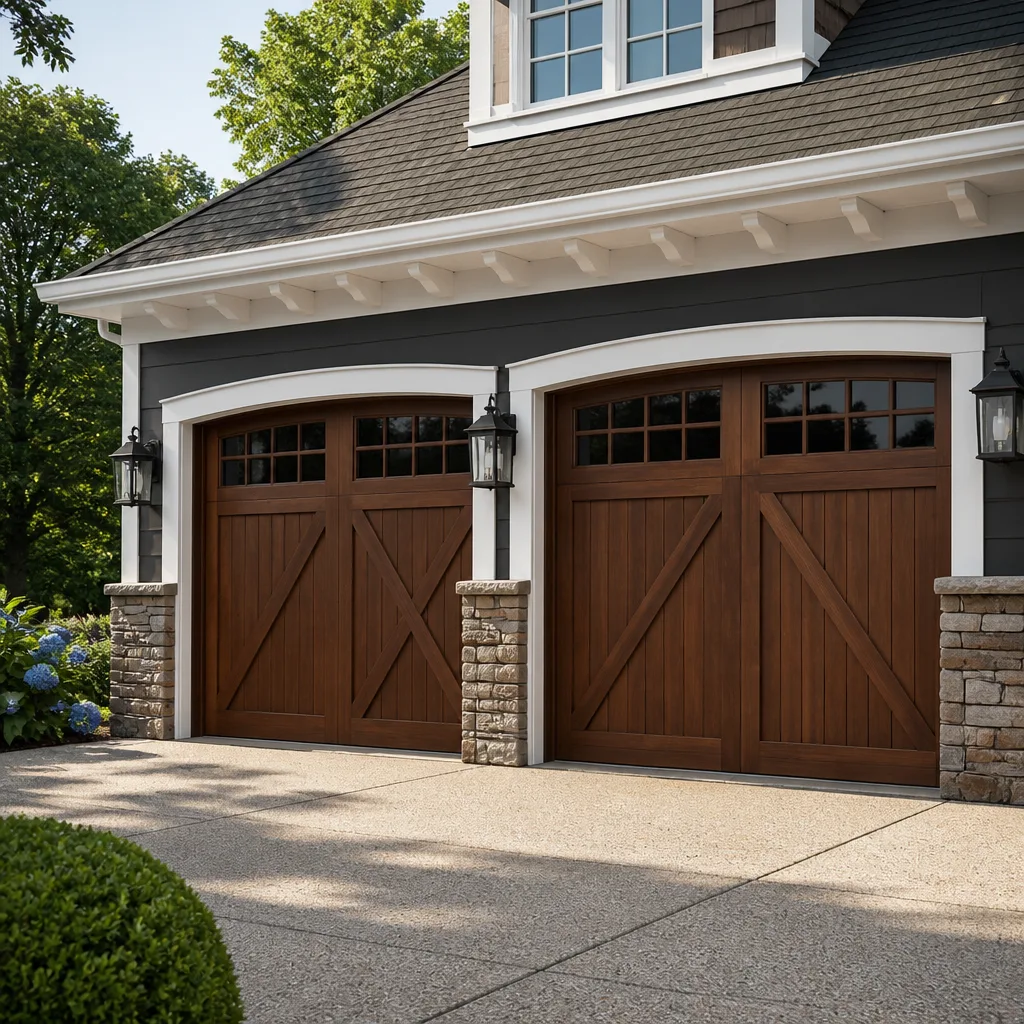 Carriage house
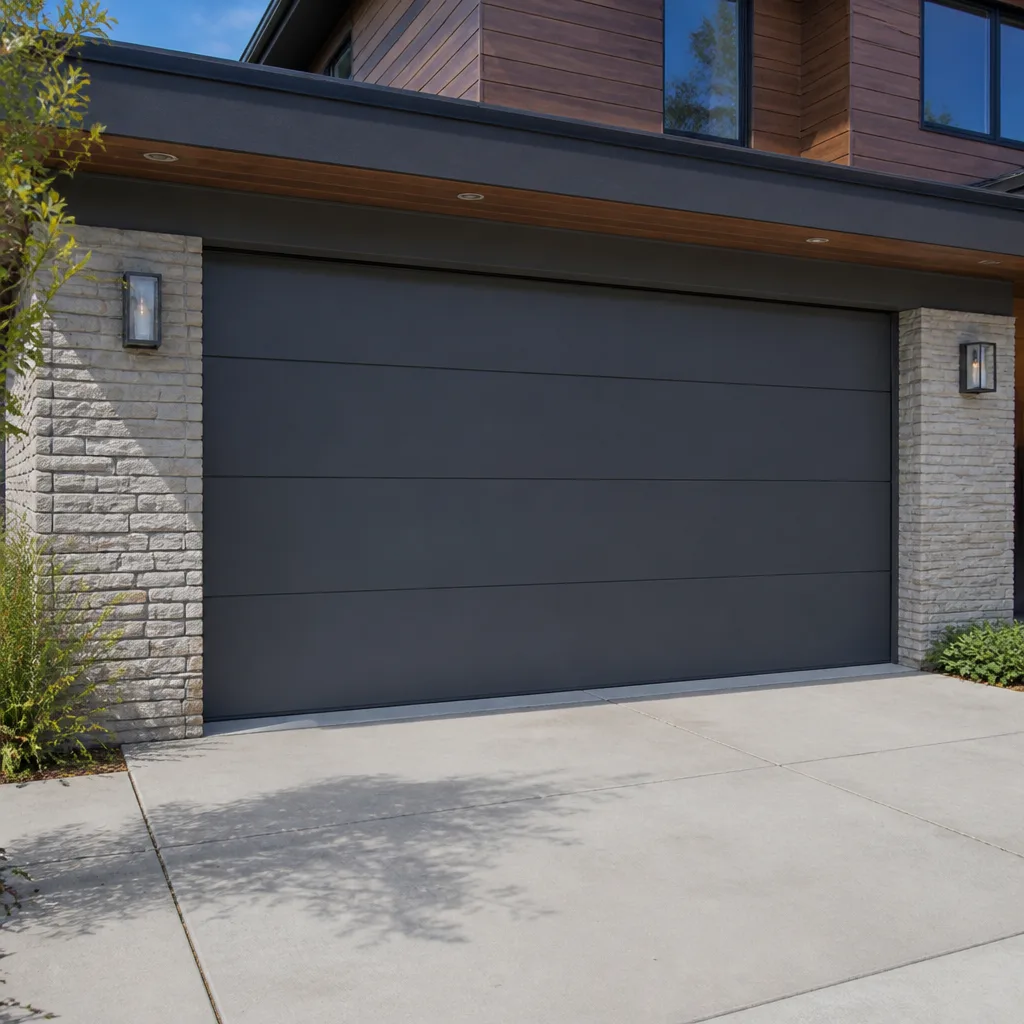 Modern flush
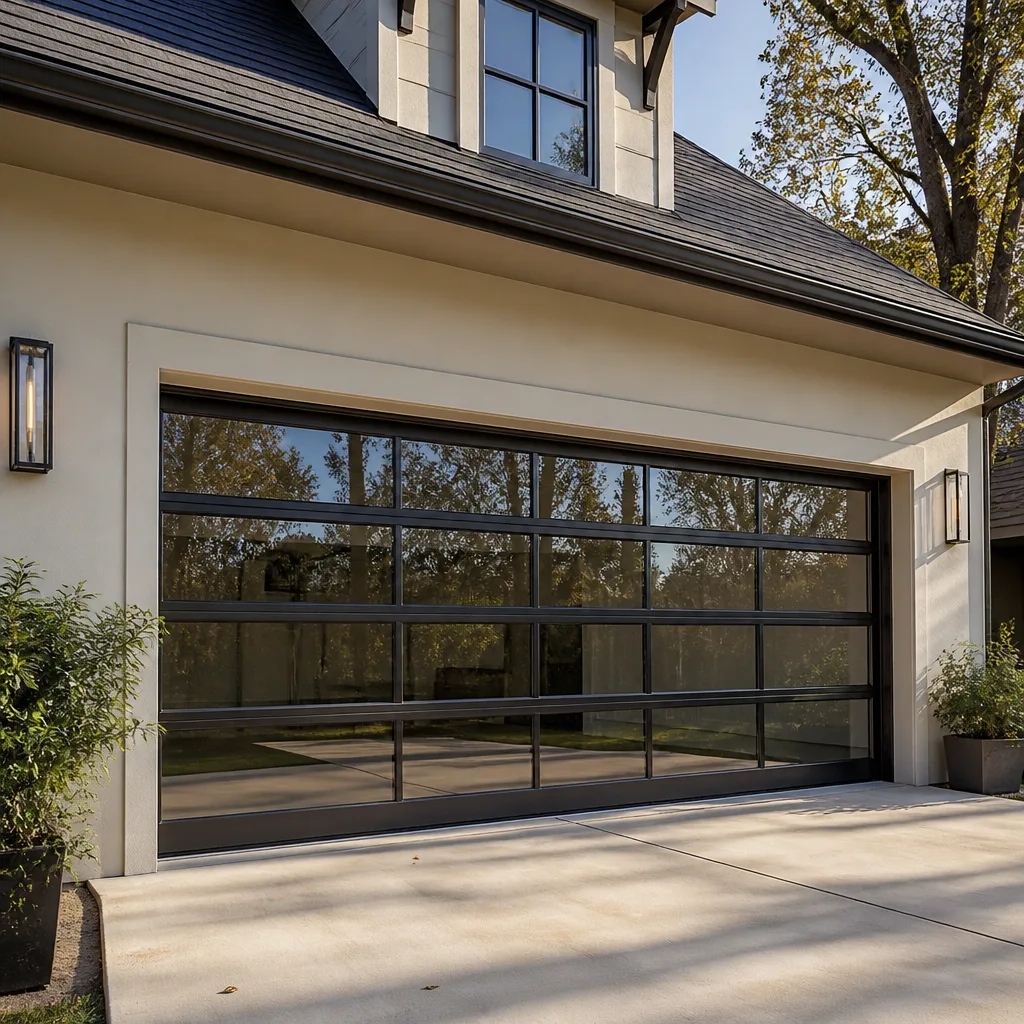 Full-view glass
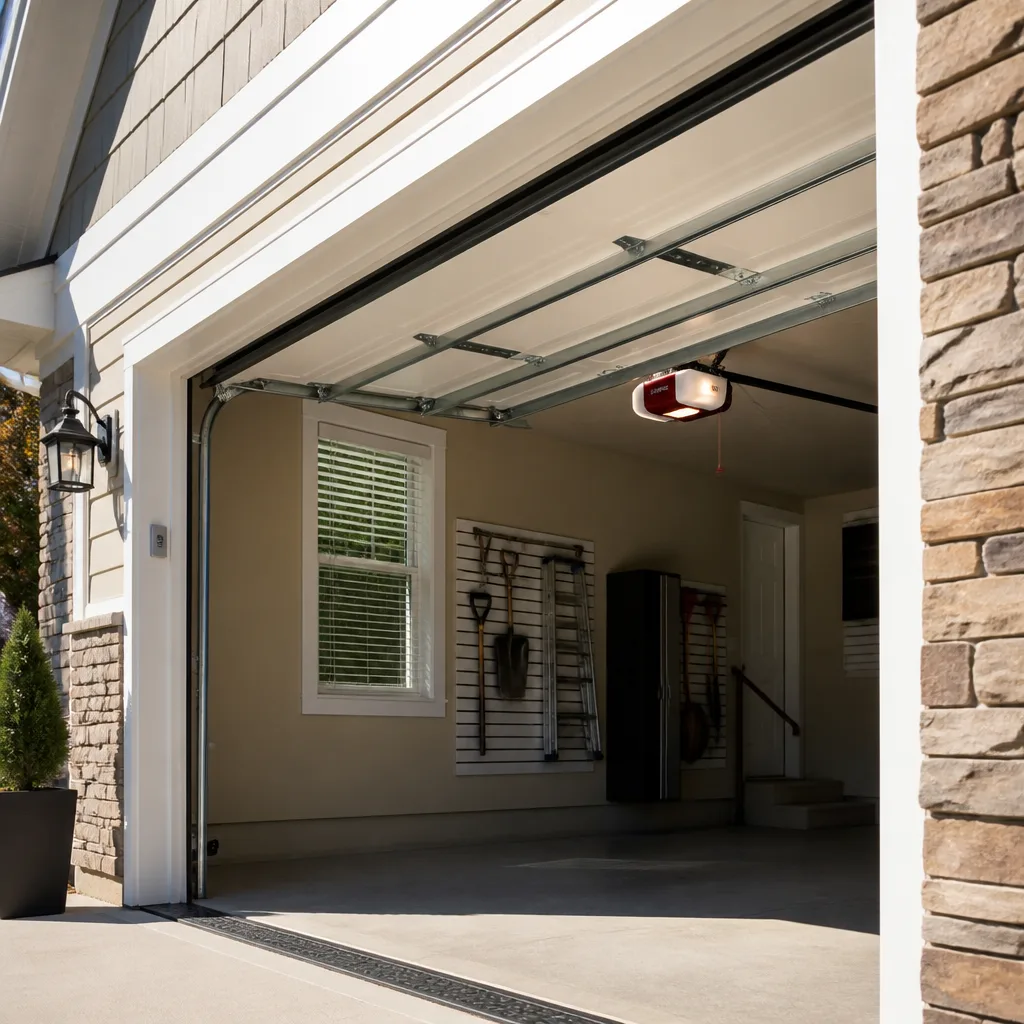 LiftMaster openers
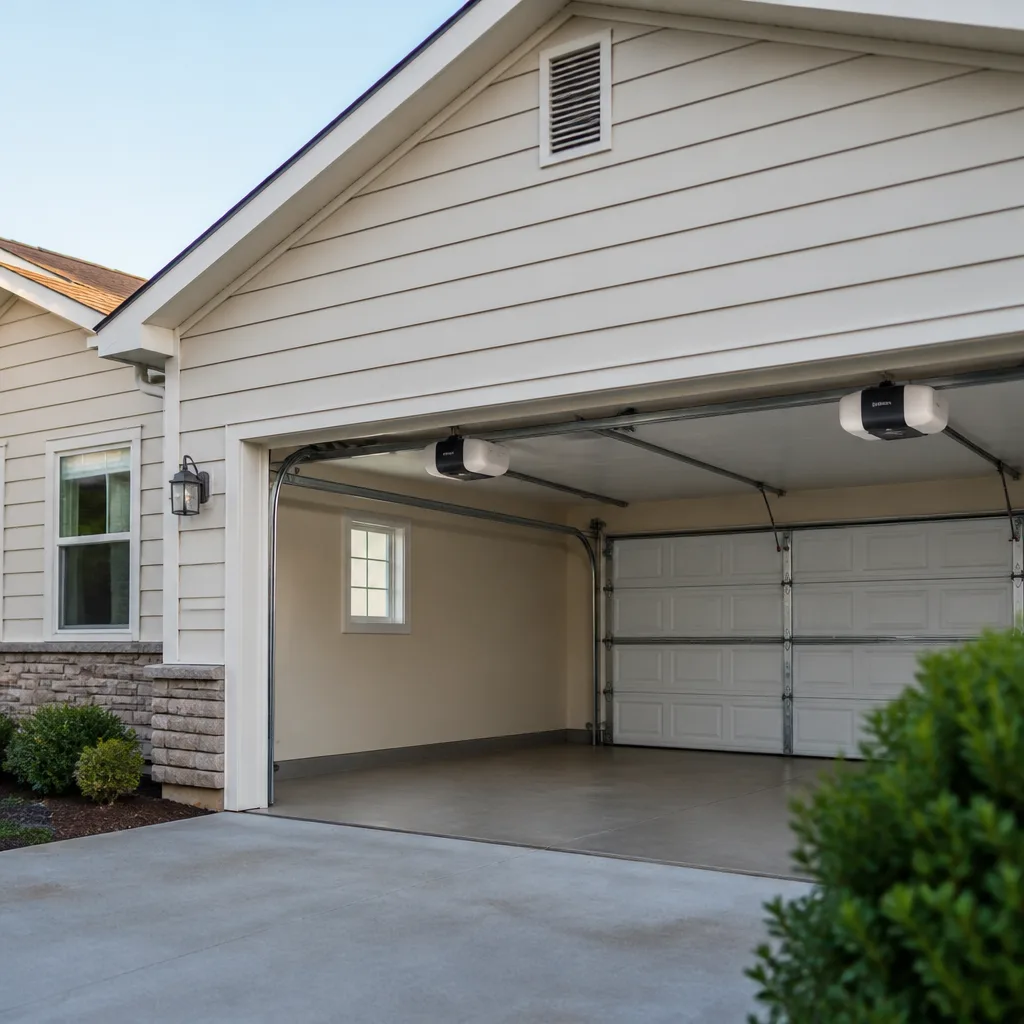 Chamberlain openers
Full 25-point door and opener safety check with every visit - springs, cables, rollers, tracks, and your LiftMaster or Chamberlain opener included
You get a price before we start. It does not change when the pro arrives.
Get your free estimateGarage Door Repair Troubleshooting in Kensington: Common Problems and How to Fix Them
Most garage door troubleshooting starts in the wrong place. A homeowner presses the wall button, nothing happens, and the first instinct is to blame the opener. But a dead wall button and a working remote are two completely different fault paths, and treating them as the same problem sends you hunting in the wrong part of the system. A garage door is four interdependent systems – opener, springs, tracks, cables – and symptoms rarely point to the guilty one on their own. This guide teaches component-first diagnosis for Kensington homeowners, so you fix the right thing the first time instead of the third.
Quick Answer
Garage door troubleshooting in Kensington starts with isolating which of the four systems is failing: opener, springs, tracks, or cables. If the door is balanced and moves freely by hand, the fault is almost always in the opener or its controls; if the door is heavy, crooked, or stuck, the fault is mechanical. Springs, cables, and bottom brackets are never DIY territory – those require a trained technician.
Styles & brands we work with
- Raised-panel steel
- Carriage house
- Modern flush
- Full-view glass
- LiftMaster openers
- Chamberlain openers
Table of Contents
- The Component-Isolation Framework: Diagnose Before You Touch
- Why Freeze-Thaw Cycles Cause Problems That Look Like Something Else
- Five Failure Modes That Are Genuinely DIY-Safe
- Three Failures You Should Never Touch
- How to Read Opener Error Codes Without a Manual
- What a Slow Door Actually Signals
- Testing the Safety Reverse System
- When to Call a Professional
The Component-Isolation Framework: Diagnose Before You Touch
Before you touch a single bolt, run this sequence. It takes about three minutes and it tells you which of the four systems owns the problem. Skip it and you’ll spend an afternoon adjusting tracks when the real issue is a stripped gear in the opener.
Step 1: Disconnect the opener. Pull the emergency release cord (usually a red handle hanging from the trolley). This separates the door from the opener motor entirely. Everything you learn from this point forward is about the door itself, not the machine.
Step 2: Lift the door halfway by hand and let go. A properly balanced door stays where you put it. A door that slams down or drifts up has a spring problem or a balance problem. A door that won’t budge at all has a spring or cable failure. Either result means you stop here – the mechanical system needs a professional before anything else happens.
Step 3: If the door is balanced, check the tracks by eye and by hand. Run your hand along the inside curve of each vertical track. You’re feeling for dents, kinks, or debris. Look at the gap between the rollers and the track – if the roller is riding the edge instead of sitting in the channel, the track is out of alignment.
Step 4: Reconnect the opener and test the controls separately. Wall button, then remote, then keypad. If one works and the others don’t, the problem is in the control, not the opener. If none work but the opener hums, the problem is mechanical inside the unit or in the drive system.
This framework works on every door type and every opener brand we service, from a Chamberlain chain drive to a Raynor torsion setup. In our experience, roughly half the service calls we handle in Kensington resolve to a control or opener fault that the homeowner had assumed was a spring failure – or the reverse. The framework settles it.
Why Freeze-Thaw Cycles Cause Problems That Look Like Something Else
Kensington’s winters do something to garage doors that warmer climates never see: the ground under the garage slab freezes, thaws, and freezes again, and the concrete pad shifts a fraction of an inch each cycle. That movement transfers directly into the vertical tracks bolted to the floor and the wall.
Here’s what that looks like from the driver’s seat. The door starts catching about a foot off the ground. It grinds, then pops free. A homeowner reasonably concludes a roller has gone bad, buys new rollers, installs them, and the problem persists. The rollers were fine. The track had been pushed slightly out of plumb by the pad movement, and the roller was binding against a track that was no longer straight.
Freeze-thaw misalignment shows up in a few predictable ways in Kensington:
- The door binds at the same height every time, usually in the first two feet of travel
- One side of the door lags the other slightly as it rises
- The gap between the door panel and the weather seal changes season to season
- Grinding noise that’s worse on cold mornings and disappears by afternoon
You can confirm it without tools. With the door disconnected (Step 1 above), watch the gap between the door edge and the vertical track on each side as you lift. If one side has a visibly wider gap than the other, the track has moved. Straightening it properly means loosening the track brackets, re-plumbing the track, and re-torquing – and on older Kensington garages where the concrete has been patched more than once, the anchor bolts sometimes need attention too. That’s a job for a technician with the right tools, not a hammer and a hope.
Five Failure Modes That Are Genuinely DIY-Safe
We’re not going to tell you to call a professional for everything. Some garage door problems are simple, safe, and don’t require any special tools. Here are the five we’d tackle ourselves.
- Dead remote batteries. The single most common “my opener is broken” call. Replace the battery, re-pair if needed, done. Most remotes use a standard coin cell or AAA pair – check the battery compartment.
- Misaligned safety sensors. The two small lenses at the bottom of the tracks should face each other, and most have a small LED that stays solid when aligned. If one is blinking, nudge it back into position. If it won’t hold, the bracket is loose or bent.
- Obstructed sensor path. A cobweb, a leaf, a piece of trash, a bicycle tire parked in the beam. The door reverses and the homeowner assumes a major fault. Clear the path and test again.
- Dirty or dry rollers and hinges. Squealing that’s clearly coming from the hardware, not the opener. A garage door lubricant (not WD-40) on the hinges, rollers, and the torsion bar bearings quiets most of it.
- Opener logic board reset. A power surge or a lightning strike nearby can leave the opener in a confused state. Unplug it for thirty seconds, plug it back in, and see if it recovers. This is the first thing we do on any “opener is acting strange” call.
None of these require you to get under the door, touch a spring, or work above your head with a tool that could slip. That’s the dividing line. If the fix means reaching past the door panels toward the torsion bar at the top, or working near the cables at the bottom corners, stop reading and call.
For anything that turns out to be a genuine opener fault rather than a control issue, garage door opener repair covers what a proper diagnostic looks like and what to expect.
Three Failures You Should Never Touch
Three components on a garage door can injure or kill someone who doesn’t know exactly what they’re doing. We’re not being dramatic about this. Torsion springs store enough energy to throw a person off a ladder, and a cable under tension can take fingers off when it snaps.
1. Torsion and extension springs. The spring is the counterweight that makes a 200-pound door lift with one hand. It’s under constant load, and adjusting or removing it requires winding bars, knowledge of the correct turns for the door weight, and a very specific sequence. We’ve seen homeowners try to “tighten” a spring with a pair of vice grips. Don’t. Springs are dangerous – leave them to a specialist.
2. Cables. The lift cables run from the bottom bracket up to the drum at the top of each side. They’re always under tension when the door is down. A cable that’s frayed, kinked, or has come off the drum needs to be replaced by someone who knows how to release the tension safely first.
3. The bottom bracket. That small metal bracket at the bottom corner of the door is where the cable attaches. It’s under load from the entire cable system. Loosening it – even slightly – can release the cable violently. Never touch it.
If your diagnosis lands on any of these three, stop. Spring repair is one of the most commonly mishandled jobs on a garage door, and it’s exactly the kind of work a specialist should handle. Our technicians have up to 10 years of experience with torsion and extension spring replacement, including the matched-pair work that most doors actually need (springs wear together, so replacing just one usually means the other fails within months).
How to Read Opener Error Codes Without a Manual
Modern openers flash their diagnostic codes at you via the LED on the back panel or the light bulb. Every brand counts differently, but the logic is consistent: a sequence of flashes followed by a pause, then the sequence repeats. Count the flashes in one sequence, and you’ve got the code.
Here’s how the common brands stack up:
- LiftMaster and Chamberlain (same parent company, same code logic): the number of flashes tells you the fault category. A short flash sequence is usually a sensor or safety issue; a longer one points to a logic board or motor fault. The diagnostic LED on the back of the unit repeats the code.
- Craftsman: the code flashes the same way, but the legend is often printed inside the light lens cover. Pop the lens off and check.
- Raynor: their control boards use a different flash pattern. If your Raynor opener is cycling an unfamiliar code, that’s worth a call.
- Genie: usually a red LED with a repeating count. Sensor faults and travel limit faults are the most common codes.
What the codes actually mean, in plain terms most of the time: “safety sensor blocked or misaligned,” “travel limit reached before the door closed,” “motor overload,” or “logic board fault.” Two of those four you can address yourself (sensor alignment, and checking the travel limits against the manual). The other two need a technician. The good news is that we’re factory-trained on all eight major brands – LiftMaster, Chamberlain, Genie, Clopay, Amarr, Wayne Dalton, Craftsman, and Raynor – so we know your code the moment we see the unit.
What a Slow Door Actually Signals
A door that’s gotten noticeably slower over weeks or months is telling you something specific, and it’s almost never “needs lubrication.” That’s the instinct, and it’s usually the wrong first move.
A slow door – one that rises and falls at a visibly reduced speed compared to what it used to do – usually points to one of these:
- Failing motor capacitor on the opener. The capacitor gives the motor its startup push. When it weakens, the motor runs but with less torque, and the door moves slowly. This is an opener repair, not a door repair.
- Binding in the tracks or rollers. If the door is dragging against a misaligned track or a seized roller, the opener is working harder than it should. The door feels heavy when you lift it by hand with the opener disconnected.
- Spring tension loss. A torsion spring that’s lost some of its wind makes the door heavier, and the opener strains to lift it. This one gets dangerous fast because the opener is now carrying weight the spring should be carrying.
- Gear wear inside the opener. The nylon or metal drive gear wears over time, especially on older units. The motor spins, but the drive is slipping. You’ll often hear the motor running without the door moving much.
Lubricating a slow door that’s slow because of a failing capacitor or a worn gear doesn’t fix anything – and it can mask the real problem until the opener fails completely. Test the balance first (disconnect, lift halfway, let go). If the door is balanced and still slow, the fault is in the opener machine. If the door is heavy, the fault is in the springs or the tracks. Then you know which call to make.
When the diagnosis lands on the opener, garage door repair covers the full range of fixes from capacitor replacement to full opener service, without sending you to a second company for the door itself.
Testing the Safety Reverse System
The safety reverse is the most important safety feature on your garage door, and it’s the one most homeowners never test. It’s also a required function on any door with an opener, and it’s supposed to be tested monthly.
Two tests, both quick:
- The photo-eye test. With the door open, wave an object (a broom handle works) through the sensor beam at the bottom of the tracks. The door should reverse immediately and go back up. If it keeps closing, the sensors are misaligned, dirty, or faulty. Fix or call.
- The contact reverse test. Close the door and, as it’s closing, place a 2×4 flat on the ground in its path. The door should hit the board and reverse within a couple of inches. If it presses down on the board before reversing, the travel limits or the force adjustment need resetting – and that’s a technician’s job on most modern openers, because the force setting is what makes a door reverse safely versus not.
Both tests should pass. If the photo-eye passes but the contact reverse fails, the opener is not going to protect a child, a pet, or a car. That’s not a “get to it next month” repair. And if the door reverses for no apparent reason mid-travel, the photo-eye is almost always the culprit – dirt, sun glare across the lens, or a loose bracket.
Around Kensington, the sensor brackets on older installations are more prone to vibration loosening than the sensors themselves. A door that reverses at the same spot every time is a bracket problem. A door that reverses at random is usually an alignment or dirt issue.
See the difference
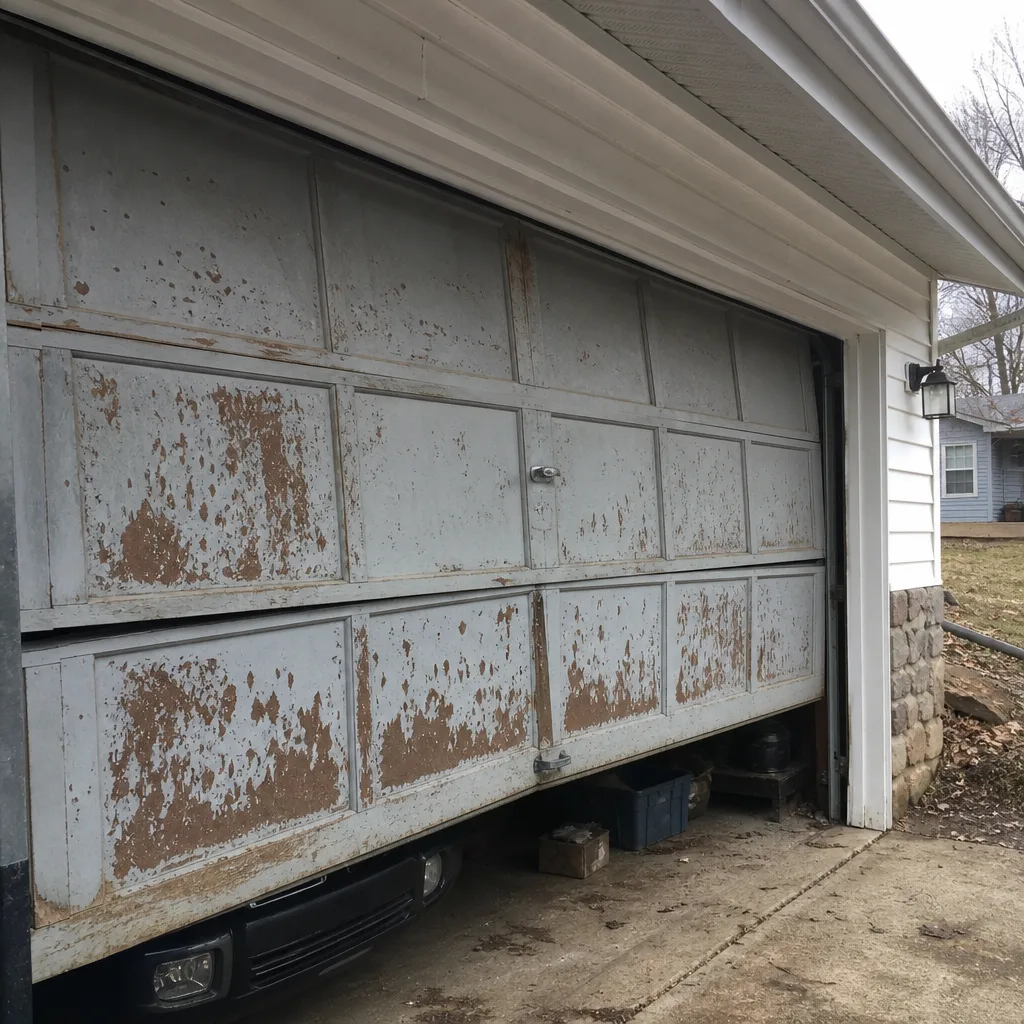 Before
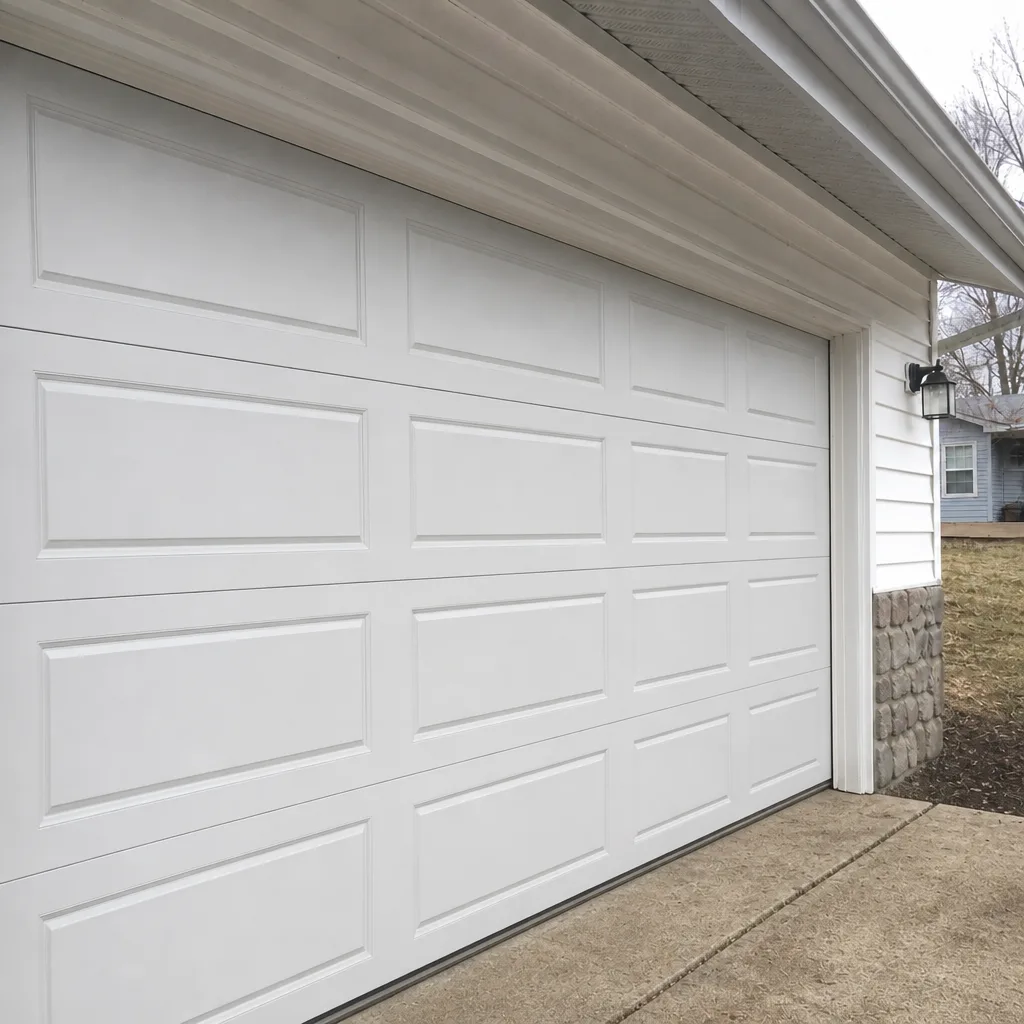 After
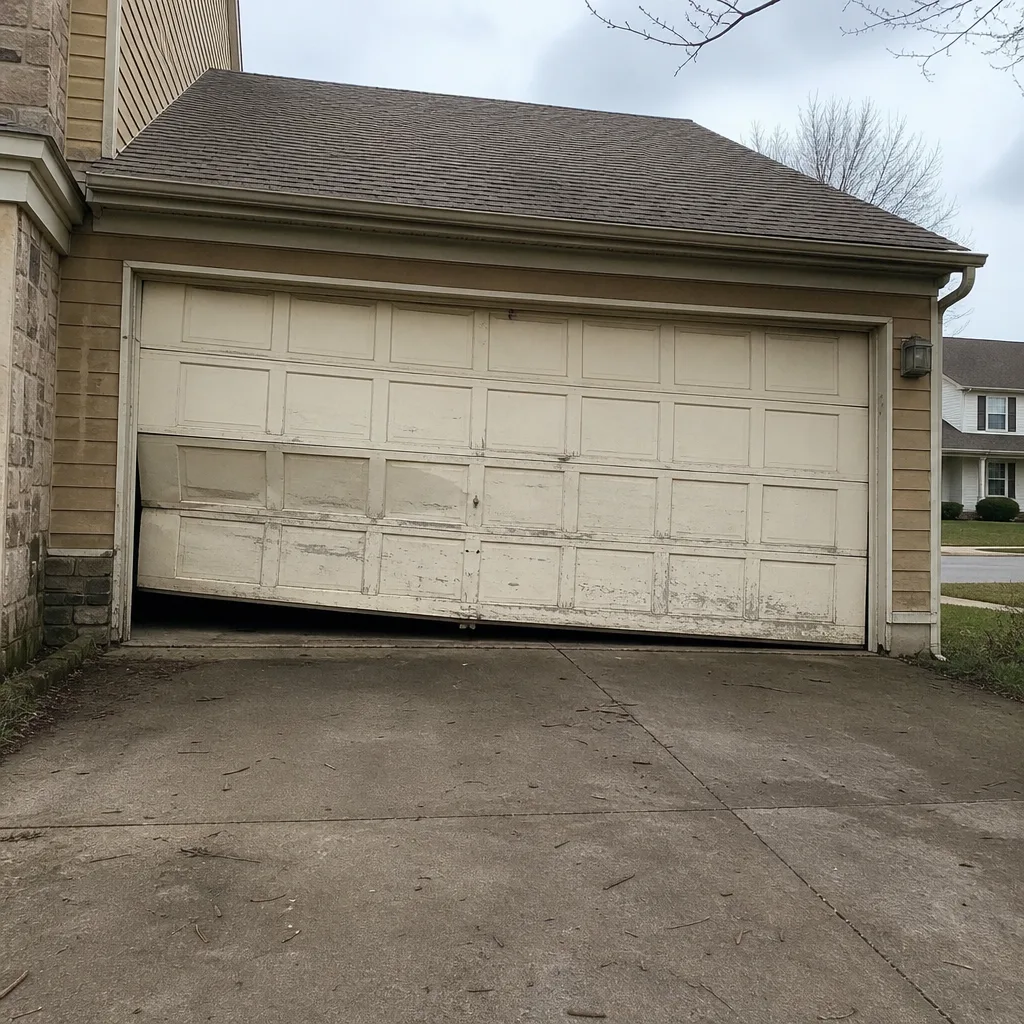 Before
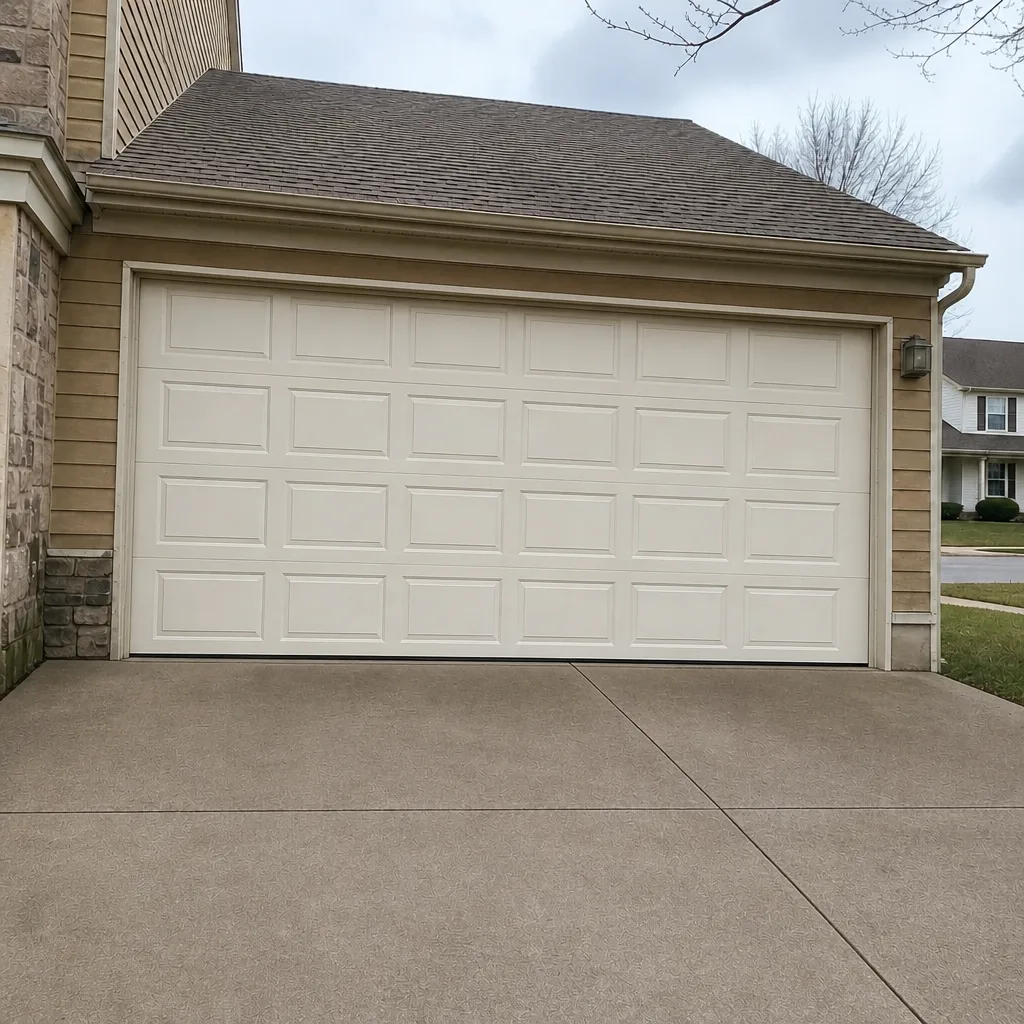 After
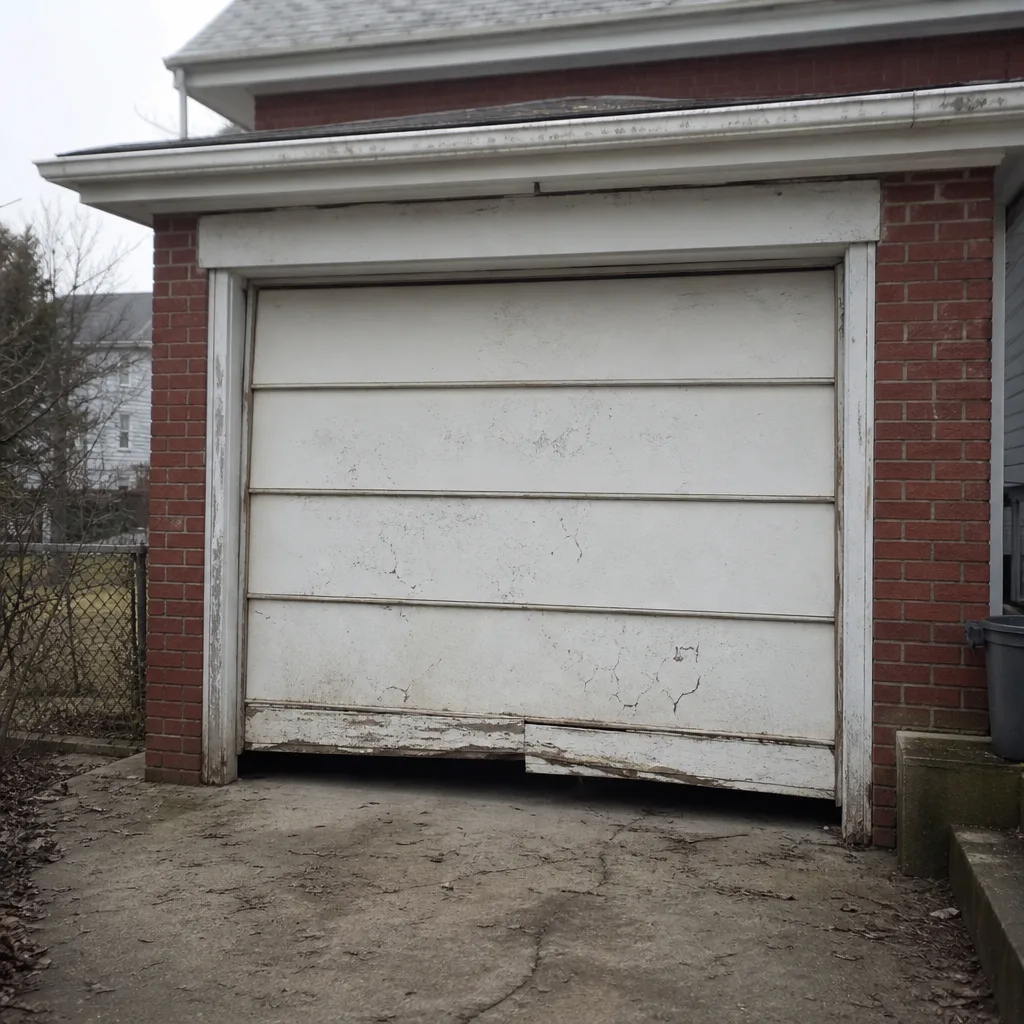 Before
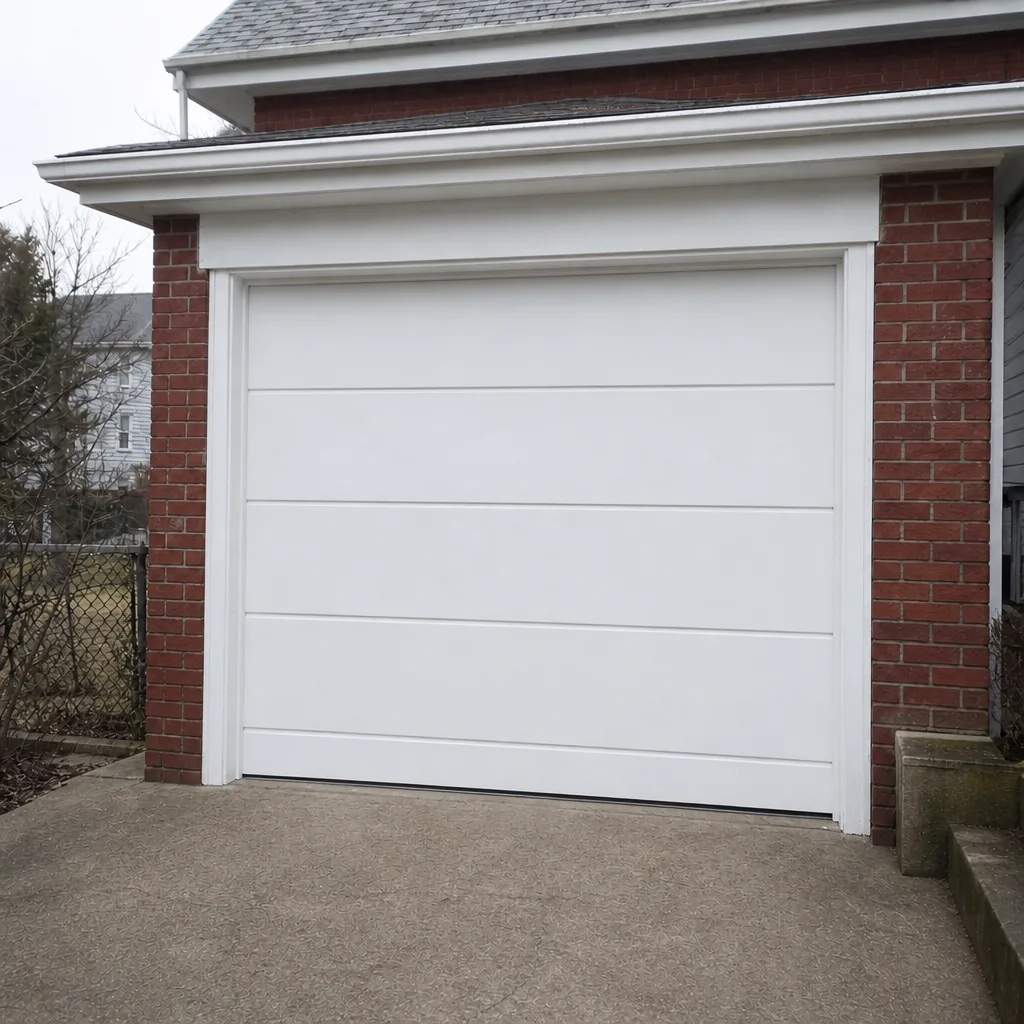 After
Common Mistakes to Avoid
- Blaming the opener for a spring problem. If the door is heavy and slow, the opener is working as hard as it can against a door it can’t lift. Replacing the opener without fixing the spring just kills the new opener. Diagnose the door first, then the machine.
- Lubricating the tracks. Tracks are supposed to be clean and dry. Lubricant on the tracks attracts grit, which gums up the rollers and makes things worse. Lubricate the hinges, rollers, and bearings – not the track itself.
- Adjusting the force setting to “make it close.” A door that won’t close because the safety reverse is triggering is doing its job. Turning up the force just overrides the safety feature. Fix the alignment, the travel limits, or the obstruction – don’t disable the protection.
- Replacing one spring instead of the pair. Springs wear together. A matched pair costs about twice a single spring, but replacing one means the other fails soon after – and you pay for the second service call anyway.
- Chasing a track misalignment with a hammer. In Kensington, the vertical tracks shift with the freeze-thaw movement of the concrete pad. Hitting the track with a hammer to “straighten” it bends the channel out of true and makes the roller bind worse. Loosen, re-plumb, re-torque – with the right tools.
- Ignoring the weather seal. A worn bottom seal lets water and cold air under the door, and in a Kensington winter that water freezes at the door’s bottom edge and can lift the door off the ground just enough to jam it. A simple seal replacement prevents a bigger problem.
- Not testing the safety reverse. Most homeowners have never tested it. It takes thirty seconds and it’s the one feature that prevents the worst outcome. Test it monthly.
When to Call a Professional
Call a professional when the diagnosis points to springs, cables, the bottom bracket, or a failed opener motor – and don’t wait if the door is stuck open, hanging crooked, or has a cable visibly off the drum. Those are the situations where working on it yourself can cause real injury. A door that reverses randomly, an opener that hums without moving the door, or a door that’s been getting heavier for weeks all deserve the same call.
Garage Door Repair Kensington offers free estimates in Kensington. Our technicians have up to 10 years of experience and we work on all eight major brands. Call (833) 439-5277. We answer 24/7. Fast dispatch from 7am to 7pm, Sunday through Friday.
Frequently Asked Questions
That points to a wall button or wiring fault, not the opener itself. The wall button is a simple switch on a low-voltage circuit; if the button is stuck, the wire is cut or loose at either end, or the button’s contacts are corroded, the opener never sees the signal. If the remote still works, the opener’s receiver and motor are fine. Test the button by shorting the two wires at the opener terminals (a brief touch) – if the door moves, the fault is in the button or the run of wire.
Almost always the safety sensors or the travel limits. If the photo-eye beam is broken, misaligned, or dirty, the door reverses the instant it thinks something is in the path. Clean the lenses and check that the LEDs on both sensors are solid. If the sensors are solid and it still reverses, the travel limit is set to stop the door short of the floor and needs resetting. If it reverses at the same spot every time, look at the sensor brackets – vibration loosens them.
Opening is where the opener works hardest, so a slow rise with a normal close usually means the opener is losing lifting torque. The most common causes are a weakening motor capacitor, a worn drive gear, or a torsion spring that’s lost tension. Test the door by hand with the opener disconnected – if it’s heavy, it’s the spring; if it’s balanced but slow, it’s the opener. Either way, lubricating it won’t fix the cause.
Because the concrete pad under the garage moves with freezing and thawing. Each winter cycle shifts the slab slightly, and the vertical tracks bolt to that slab and to the wall above it. Over a few seasons, the track goes out of plumb and the door starts binding at the same height every time. Re-plumbing the track and re-torquing the brackets fixes it, but on older Kensington garages the anchor points sometimes need attention too. Hitting the track with a hammer to straighten it makes the binding worse.
No. Torsion springs store enough energy to seriously injure or kill someone who doesn’t know the exact sequence for releasing and winding them. The tools, the number of turns, and the safety procedures are specific to the door’s weight and spring size. Extension springs fail the same way. Springs are dangerous – leave them to a specialist. The same applies to the cables and the bottom bracket, which are always under tension.
Pull the emergency release cord and test the door by hand. If it lifts easily and stays halfway up on its own, the door and its mechanical system are healthy and the fault is in the opener or its controls. If the door is heavy, won’t move, or slams down when you let go, the fault is in the door’s springs, cables, or tracks. That one test splits every diagnosis in two.
The Bottom Line
Garage door troubleshooting works when you diagnose by component, not by symptom. Disconnect the opener, test the door’s balance, check the tracks, then test the controls separately. That sequence tells you which of the four systems owns the problem before you spend a dime. Springs, cables, and the bottom bracket are never DIY – those are the three failures that get people hurt. Everything else on the list is fair game for a homeowner with a little patience. When the diagnosis lands on the mechanical side or the opener itself, that’s where we come in. Call (833) 439-5277 for a free estimate. We answer 24/7. Fast dispatch from 7am to 7pm, Sunday through Friday.
For the full picture of what a specialist handles – from emergency response to a complete garage door installation – start with the Garage Door Repair Kensington home page and work from there.
Written by the team at Garage Door Repair Kensington.